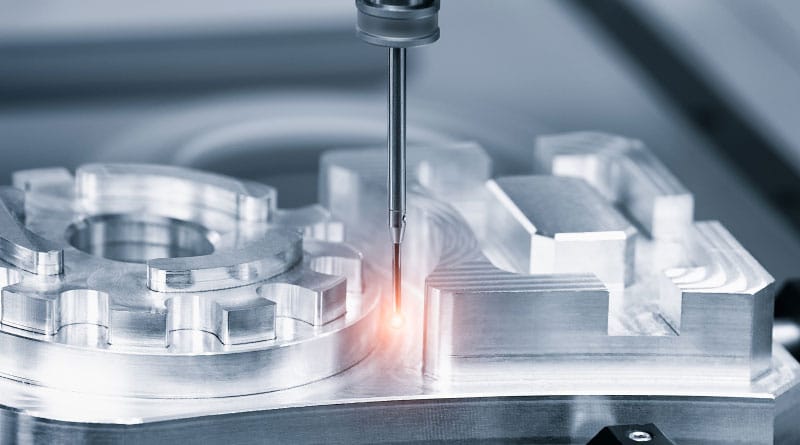
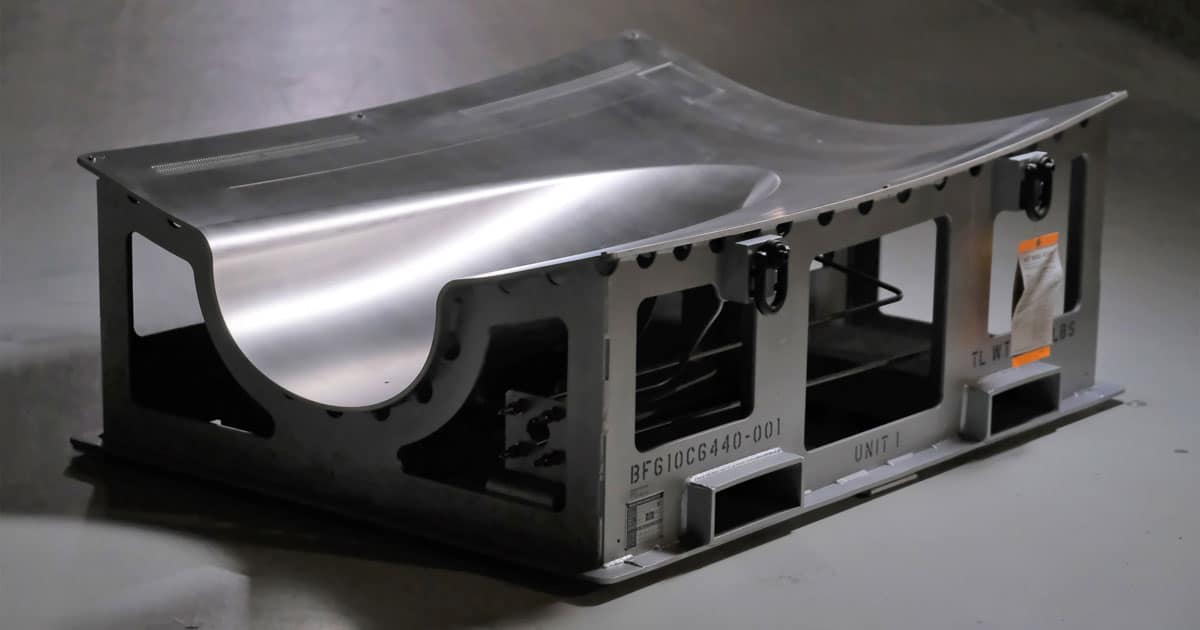
Baker Industries, a Lincoln Electric Company, recently purchased a pre-owned Giddings & Lewis Cordax 150 with Polyworks CMM software. The new CMM will help accommodate a large volume of aircraft and automotive parts and components created using their CNC machining and large-format metal additive manufacturing equipment and facilities.
With any machining or 3D printing operation, there is usually a quality assurance (QA) team working in unison to ensure that components are within tolerance, maintain a particular surface finish, and are consistent from the first part to the one-millionth part. With aircraft/automotive companies today demanding higher volumes, greater part complexity, and a variety of new materials on the market, it is imperative to have a mostly automated system. Baker aims to leverage their new Giddings & Lewis CMM alongside their existing 3D scanning practices to increase the efficiency and throughput of their QA efforts.
Before & After the New CMM & Software
Traditionally, the quality assurance team at Baker Industries’ facilities in Macomb, Michigan, use laser trackers in addition to manual CMMs for the bulk of their measurement and quality assurance work. While this QA methodology might be adaptable to any component, it is not easy to automate and requires a large amount of human intervention. This can lead to headaches later down the line if a simple human error occurs and distorts the measurements and datum compiled by the equipment. Additionally, this new inspection process will allow Baker to measure components in a ‘lights out’ fashion, setting up a particular part and allowing the machine to run autonomously overnight.
Another considerable benefit of Baker’s latest CMM investment is cost savings when human error is almost entirely eliminated. The learning curve is relatively short, as someone with basic GD&T knowledge can pick up and utilize this intuitive probing system thanks to the “teach” function within the controls. A bonus is the free training provided with the six seats of Polyworks software that Baker’s QA team can take advantage of. All of this is in the spirit of diagnosing and preventing manufacturing defects through precise, real-time measurements on finished composite, metal, and other high-performance materials.
With a combination of laser tracking and fully automated CMM inspection, the QA team at Baker aims to re-prioritize their technicians’ time into more analytical tasks. “This new process will allow us to marry the two (laser tracking & CMM) together in a way that will highlight each technology’s key attributes,” says Kerry Cameron, QA Manager at Baker.
CAD + CMM
The beauty of this system is the marriage of the original CAD model with the real-life measurements taken by the Giddings & Lewis machine. “With the Polyworks software running in unison with measurements taken on the finished piece, it will tell us how erring a part might be, by how much, and can accommodate part characteristics such as run-off and repeatability to ensure that we’re hitting the mark.” CMM measurements can also scale from penny-sized parts to the machine’s 5 ft. (L) x 3 ft. (W) x 42 in. (H) working envelope. “We can plug in the CAD model, take some quick measurements with the CMM probe, and quickly understand how a part looks compared to its original digital model,” Kerry explains. “This can be accomplished much quicker than scanning the entire component by hand, especially for some of the larger aerospace components we work with.”
Reverse Engineering Parts & Components
Another unique feature about this QA setup is the reverse engineering capabilities offered within the Polyworks software. A sizable portion of the metal additive jobs Baker’s 3D department takes on are parts produced with traditional manufacturing techniques such as CNC machining, injection molding, or casting/forging. With their new equipment, technicians can quickly place a part on the CMM’s table, probe a couple of datum and part features, and quickly gain insights into how to reverse engineer that particular component using the Polyworks software modules.
“This will significantly improve the way our Additive Solutions team designs and manufactures 3D-printed components, especially those with exotic materials and sophisticated geometries,” Kerry says. “Right now, we’re working on a flight component for [an aerospace OEM] that’s printed with Inconel®, which is just one aerospace project that’s utilizing our new inspection/validation system.
Inspection/Quality Assurance Focus
“We do 100% inspection on everything. It is the Baker standard and is our way of ensuring that everything is good and sound,” says Kerry. “A lot of these parts can take several hours to check, and with our new CMM, we’re able to set it up and let it run overnight, which was not possible with our previous equipment.” Kerry also explained a flight component program for another aerospace OEM that is being inspected much more consistently, with little to no human intervention needed to validate these mission-critical, flight-worthy components.
Looking forward, Baker hopes to leverage their new CMM software and hardware further to improve the inspection and measurement process as a whole. With added benefits such as reverse engineering capabilities for Design for Manufacturability (DfM), direct integration with CAD programs, and improved functionality for additively manufactured parts, it will beautifully complement the QA team’s existing processes.
For more information: www.bakerindustriesinc.com


